
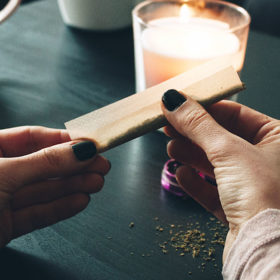
Rolling a Joint | Source: The Happy Campers
Rolling a joint is an essential life skill for any cannabis user. It’s like learning how to swim or ride a bike; you may not use it every day, but when the time comes, you’ll be glad you know how to do it.
If you’re reading this article, chances are you’re a rookie roller with a case of Joint Rolling Dysfunction Syndrome (JRDS), and you need some help. Fear not, my friend, because with a positive attitude, patience, and a little bit of practice, you can learn to roll a perfect joint.
Step 1: Gather Your Supplies
Before you can start rolling like a pro, you need to make sure you have everything you need at your fingertips. Here are the essentials:
1. High-Quality Rolling Papers – Not all rolling papers are created equal, so it’s important to choose a brand that burns cleanly and doesn’t affect the flavor of your weed. We recommend hemp OCB paper for a smooth, flavorful smoke.
2. A Grinder or Your Fingers – Grinding your weed is crucial for even burning and smooth hits. If you have a grinder, use it to break up your buds. If not, roll up your sleeves and get ready to get a little sticky.
3. A Rolling Tray – A rolling tray is a handy tool for keeping your rolling surface clean and organized. It also helps prevent your precious weed from spilling all over the place.
4. An Ashtray – No one likes a messy stoner, so make sure you have a place to dispose of your ash and roaches.
5. Filter Tips or an Old Business Card – Filters are important for keeping bits of weed out of your mouth and for keeping your joint from falling apart. If you don’t have any pre-made filters, you can easily make your own using an old business card.
6. At Least a Gram of Weed – Of course, you can’t roll a joint without some good old-fashioned weed. Make sure you have enough for at least one or two joints, just in case.
With these supplies on hand, you’ll be well on your way to joint rolling success. So grab your gear, crank up some tunes, and let’s get rolling!
Step 2: Make a Commitment
Rolling a joint is not something to be taken lightly. It requires focus, dedication, and a commitment to excellence. That’s why it’s important to set aside a solid block of time to practice this essential skill.
Start by blocking out at least thirty minutes of uninterrupted time. Put your phone on silent, find a cozy spot by a window, and get ready to roll. It’s best to start sober, so put down that joint and grab your supplies.
Now, make a solemn vow to yourself that you will not smoke any weed until you’ve successfully rolled at least three perfect joints in a row. This may sound daunting, but with practice, you’ll be rolling like a pro in no time. Remember, Rome wasn’t built in a day, and neither were perfect joints.
Set the mood by playing some chill music and take a moment to appreciate the process. Rolling a joint can be a meditative experience, so take your time and enjoy the journey. And if it happens to be a rainy day, all the better. The sound of raindrops can be a soothing accompaniment to your joint-rolling journey.
Step 3: Time to Grind & Jam
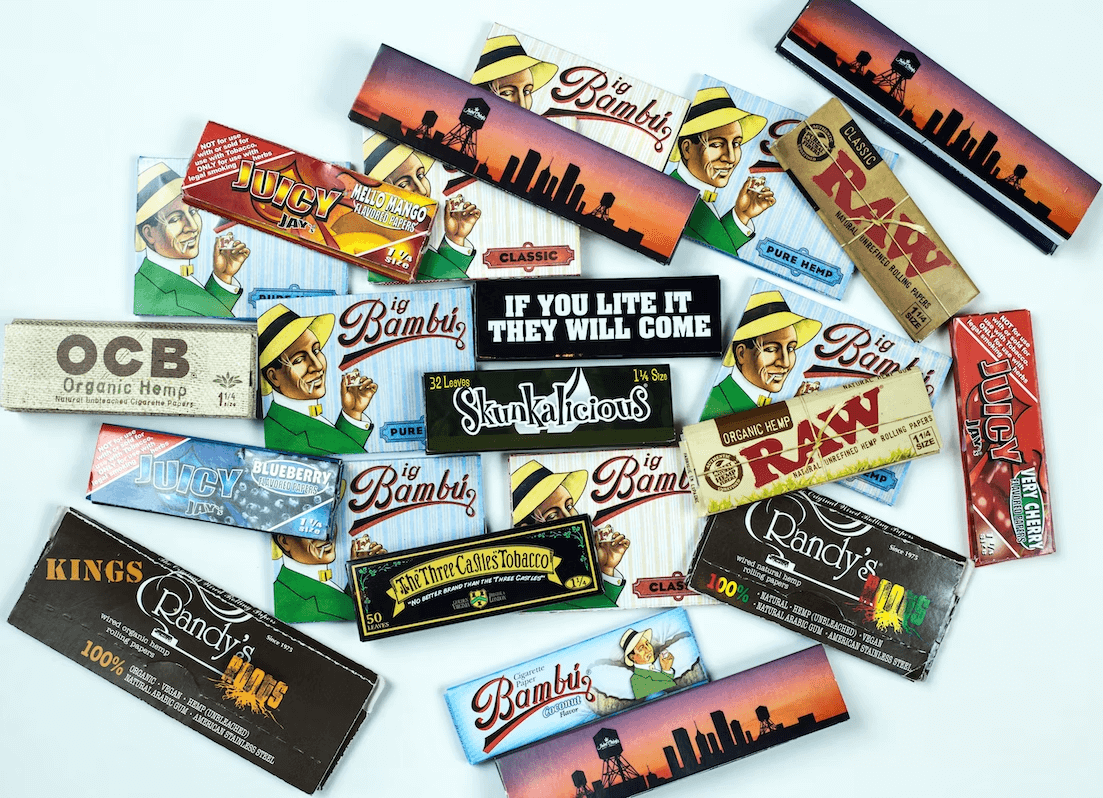 Rolling Paper | Source: Unsplash
Put on your favorite lo-fi beats and start grinding your cannabis thoroughly. You want it to be finely ground, but not so much that it becomes a powder – that’s a big no-no!
Over-grinding will make rolling your joint feel like a hopeless endeavor, and you’d be better off smoking it in a bowl. Under-grinding, on the other hand, will make your joint hard to roll and will burn unevenly. So take your time and grind it just right, like Goldilocks finding the perfect porridge. And don’t forget to bob your head to the music as you do it, because why not make rolling a joint a full-blown jam session?
Step 4: Watch Wiz Khalifa’s Video
Watch Wiz Khalifa’s “How to Roll a Perfect Joint” video on YouTube and do what Wiz does. Over and over again until you get it right three times in a row without hesitation.
Step 5: Marvel at Your Masterpiece
Now that you’ve successfully rolled your joint, it’s time to bask in your glory. Hold it up to eye level and admire your creation. It’s a work of art, a testament to your skills and dedication. Take a moment to feel a sense of accomplishment and self-confidence that you’ve never known before. You’re a joint-rolling superstar!
Don’t stop there! Visualize all the scenarios where your new skill will come in handy. Maybe you’ll be at a party, and a hot stranger will come up to you and ask, “Hey, do you know how to roll a joint?” You’ll be able to confidently answer, “Why yes, I do!” and impress them with your joint-rolling prowess. Or perhaps you’ll be out camping with friends, and they’ll be amazed at how quickly and easily you can roll a joint under any conditions.
The possibilities are endless, and you’re now equipped with a valuable skill that can bring you rich rewards. So go ahead, light up your masterpiece and enjoy the fruits of your labor. You deserve it!
Step 6: Light it up and Enjoy the Fruits of Your Labor
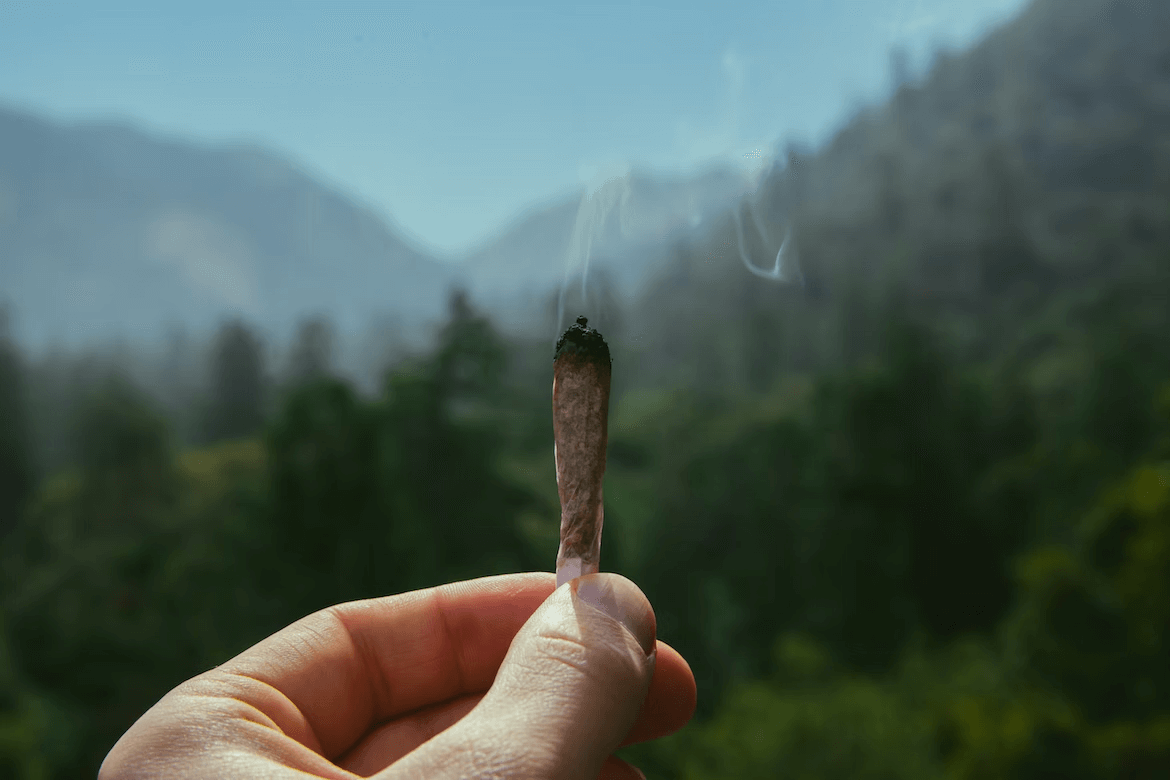 Burning Joint | Source: Unsplash
Fire up your masterwork and gaze out the window while vibing out listening to your lo-fi vibes as the joint burns down to nothing but a resin-stained cardboard filter.
Key Takeaways!
Rolling a joint is an essential life skill for any cannabis user.
● Gather all necessary supplies, including high-quality rolling papers, an herb grinder, and a rolling tray.
● Commit to the process and block out at least 30 minutes to practice rolling.
● Grind your cannabis thoroughly, but avoid making it too powdery or too nuggy.
● Use a filter tip or an old business card to make a filter.
●Follow the steps carefully, and be patient with yourself as you learn.
● Marvel at your masterpiece and feel a sense of self-reliance and confidence.
● Visualize scenarios where your new skill will come in handy.
● Spark it up!
For all of your latest cannabis news, follow The Happy Campers on Instagram and Twitter.