
Mike Jonietz | Source: Unsplash
Are you ready to spice up your cleaning routine and elevate your next smoking session? We’ve got a sizzling solution for you! Get ready to dive into the world of multitasking marvels as we unveil a quirky method to clean your trusty weed grinder while taking your high to new heights.
Yes, you read that right! It’s time to turn up the heat and boil your way to a sparkling grinder and a delightful buzz. Get ready for the ultimate double-duty delight, where cleaning meets getting high in the most unconventional and fun way possible!
The Science Behind Why Cleaning Your Grinder is Important…
You might be wondering, how on earth does boiling actually clean a weed grinder? Well, prepare to be amazed!
When you boil water, it transforms from a calm liquid into a wild and energetic frenzy of bubbles and steam. That high heat and steamy action are precisely what make boiling such an effective cleaning technique for your grinder. Heat is a magical force that has the power to loosen even the most stubborn residue and buildup on your grinder. As you submerge the grinder parts into the simmering water, the heat gets to work, gently coaxing those sticky remnants to let go and surrender.
It doesn’t stop there! The water plays a vital role too. It’s like the sidekick that supports the hero in their quest for cleanliness. As the hot water swirls around the grinder, it dissolves and carries away the grime, leaving your beloved grinder looking brand-spankin’ new.
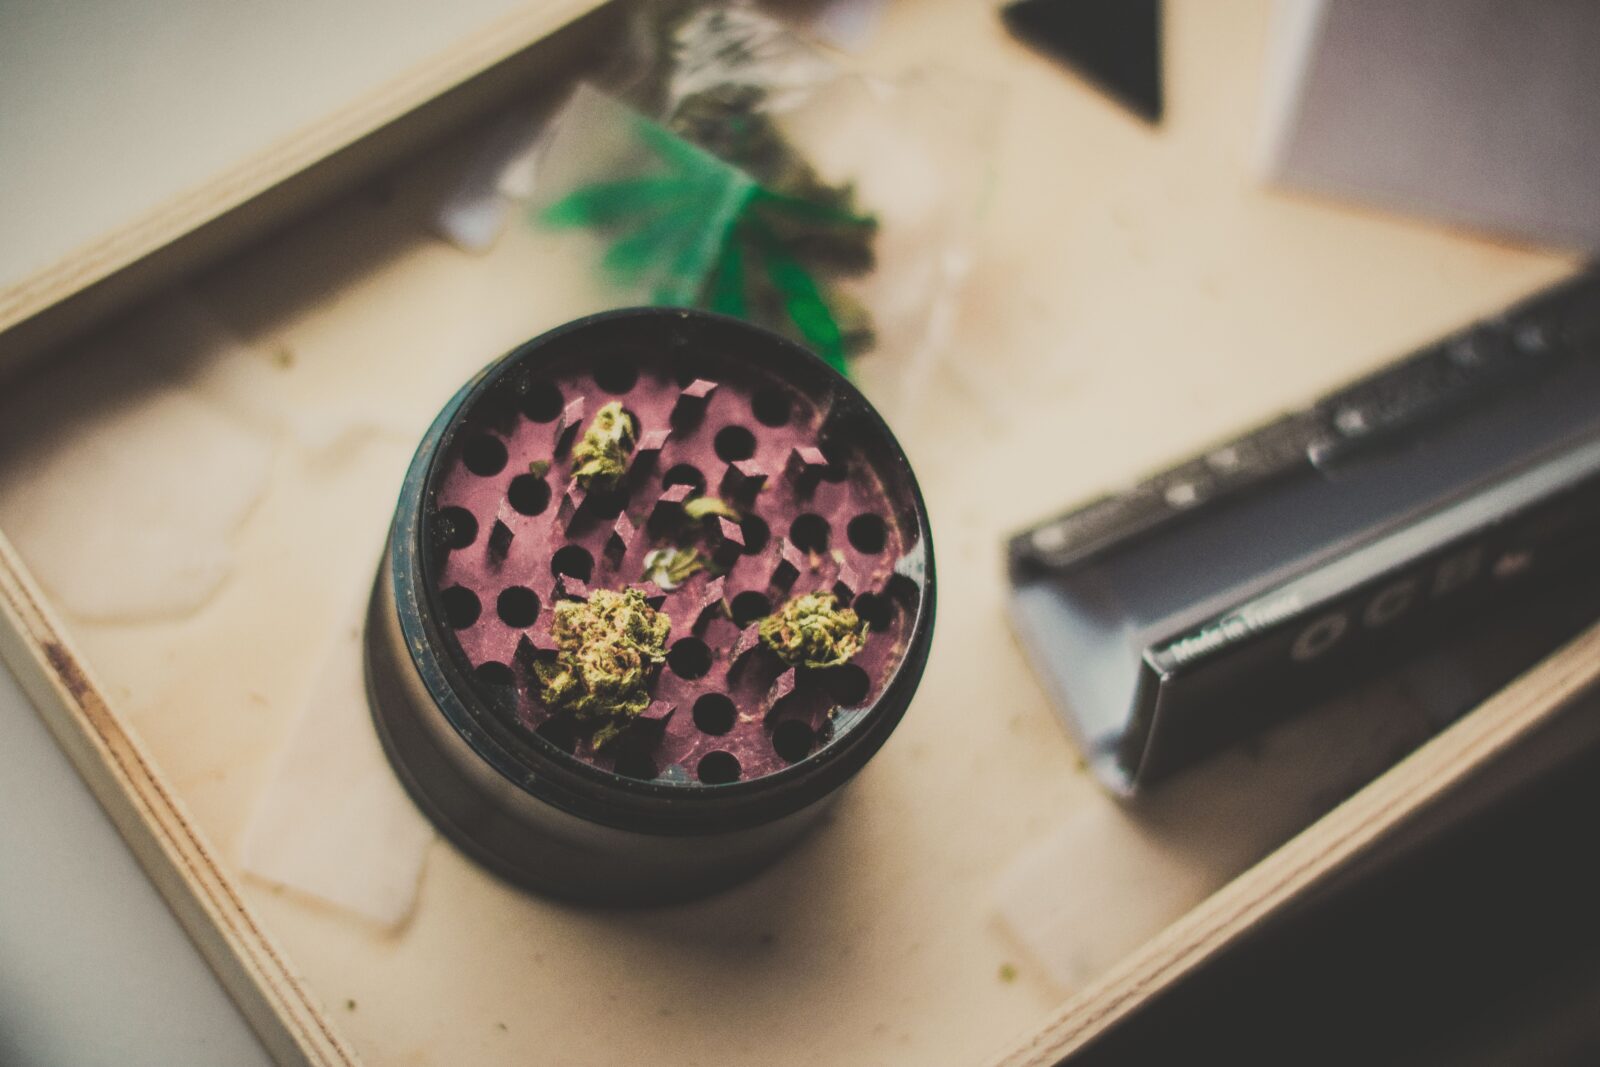
Are There Any Benefits?
Benefits of a Clean Grinder | Source: The Kind Pen
Now, let’s talk benefits, shall we? First off, convenience. Boiling your grinder is a hassle-free approach. No need for fancy cleaning agents or vigorous scrubbing sessions. Just grab a pot, some water, and voila! You’re on your way to a sparkling grinder.
Thoroughness is another star on the benefits list. Boiling ensures that every nook and cranny of your grinder gets its fair share of cleansing love. It’s like giving your grinder a relaxing spa day, but with the added bonus of a hot, steamy soak. Let’s not forget about cost-effectiveness. With boiling, you don’t have to splurge on expensive cleaning products that promise miraculous results. Water is your knight in shining armor, coming to the rescue without burning a hole in your pocket.
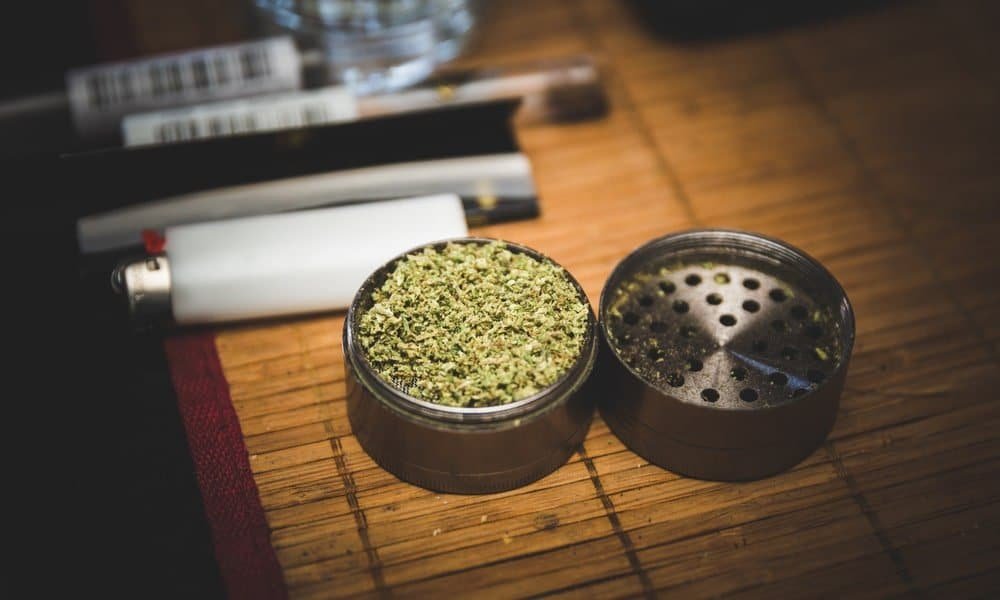
Step-by-Step Guide to Boiling & Cleaning Your Weed Grinder
Alright, time to get your hands dirty…or rather, clean!
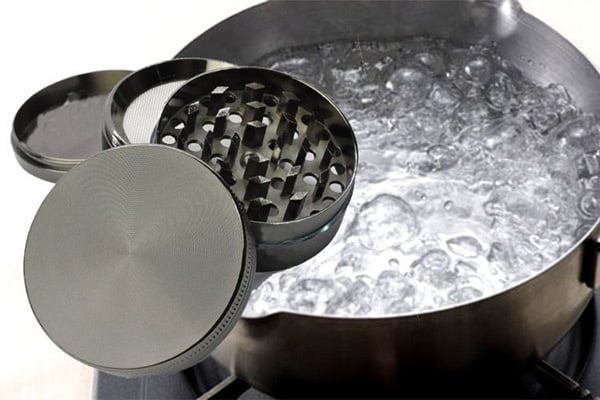
Boiling a Grinder | Source: Lookah
Step 1: Disassemble the Grinder
Start by taking apart your beloved grinder. Unscrew that lid like a champ and separate the teeth, lid, and pollen chamber. It’s like playing Grinder Operation, minus the buzzing sound and red-nosed guy.
Oh, and here’s a pro tip: be gentle with those delicate parts. Treat ’em like fragile gems so you don’t accidentally break anything. We’re aiming for a clean grinder, not a brokenhearted one.
Step 2: Preparing the Boiling Water
Now, let’s get the stage ready for our grinder cleaning extravaganza. Grab a pot that can handle the heat (and by heat, we mean boiling water). Fill it up with enough water to give your grinder parts a nice, steamy bath. Just make sure not to use water straight from the kettle. We want our grinder to feel cozy, not scalded.
Step 3: Boiling the Grinder
Place your disassembled grinder parts into the pot of water. Let them take the plunge and get comfortable in their hot tub of cleanliness. Now, cue the simmering session and let it rock for around 15-20 minutes. This allows the heat and water to work their magic and give your grinder a thorough scrub-a-dub-dub.
Oh, and keep an eye on the pot. We don’t want any accidental boiling disasters, like the kitchen suddenly turning into a foggy sauna or your cat thinking it’s a hot spring. Safety first, my friend!
Step 4: The High-Aid
While your grinder is enjoying its boiling spa day, why not treat yourself to a little something-something? Roll up a joint, fire up your favorite vaporizer, or choose whatever tickles your fancy.
Step 5: Post-Boiling Cleanup
Alright, time to rescue your freshly boiled grinder parts from their steamy retreat. But hey, let’s not burn our fingers in the process. Grab some trusty tongs or slip on those heat-resistant gloves and carefully fish out the hot pieces (safety goggles and superhero cape optional).
Give the components a good rinse with warm water to remove any remaining residue that dared to linger. After that, let them air dry or gently pat them dry with a towel. We’re going for sparkling cleanliness, not a wet grinder party. And just like that, you’ve successfully boiled your way to a spotless grinder. Now it’s time to reassemble the pieces and get ready for your next high-flying adventure!
Celebrating a Clean Grinder and Elevated Mood
You’ve successfully conquered the realm of boiling your weed grinder and emerged victorious with a sparkling, gleaming beauty ready to rock your next smoke sesh. Give yourself a well-deserved pat on the back because you, my friend, are now the proud owner of a clean grinder that could win a beauty pageant!

Clean Cannabis | Source: Cleveland Clinic Health Essentials
There’s something magical about knowing that your grinder has undergone a thorough cleaning. It’s like stepping into a freshly made bed with crisp sheets or finding a forgotten $20 bill in your jacket pocket. The satisfaction is simply unbeatable. Here’s a little secret that comes with the boiling process: the potential for an enhanced high. Picture this: as you patiently waited for your grinder to boil, your excitement grew, your anticipation built up like a kid waiting for Santa Claus. And when you finally sat down to enjoy that joint or take a hit from your vaporizer, it was as if the universe conspired to deliver an extra level of euphoria.
Key Takeaways!
Boiling your weed grinder has not only left you with a sparkling companion for your next smoke session but has also unlocked the door to a world of enhanced experiences and flavors.
• Step 1: Disassemble the Grinder
• Step 2: Preparing the Boiling Water
• Step 3: Boiling the Grinder
• Step 4: The High-Aid
• Step 5: Post-Boiling Cleanup
Don’t forget to come back to The Happy Campers for more cannabis-related insights, news, and so much more! For all of your latest cannabis news, follow The Happy Campers on Instagram and Twitter.